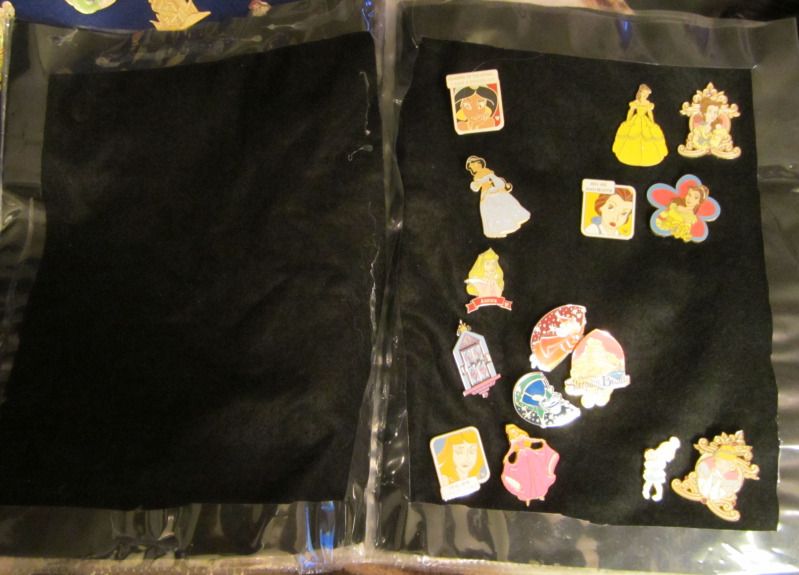
So, a few years ago on a trip to Disneyland with my best friend, I was introduced to the world of Disney Pin Trading. It did not take long for me to acquire a large enough collection to need a way of keeping them. I decided on a binder. My first attempt at pages for the binder ended in a hot mess. I used them anyways, but I wasn't happy with them. The hot glue I used to try to meld the plastic and felt didn't really work well. It mostly melted the plastic without sticking to the felt, so the felt sheets would come out, as you can kinda see here. I knew there had to be a better way.
So when I was invited on another trip to Disneyland (just a couple weeks now!), I got out my binder and figured it was time to update it. And I'm sharing how I made my new sheets with the wild, wild internet! This tutorial assumes you have some basic sewing knowledge, and/or have available resources for what you don't (mentors, books, other online tutorials...).
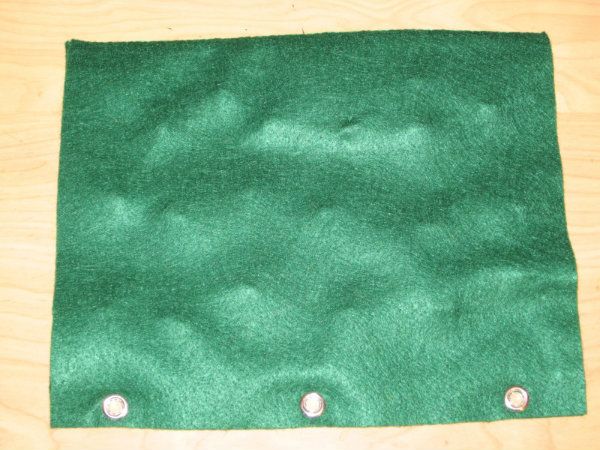
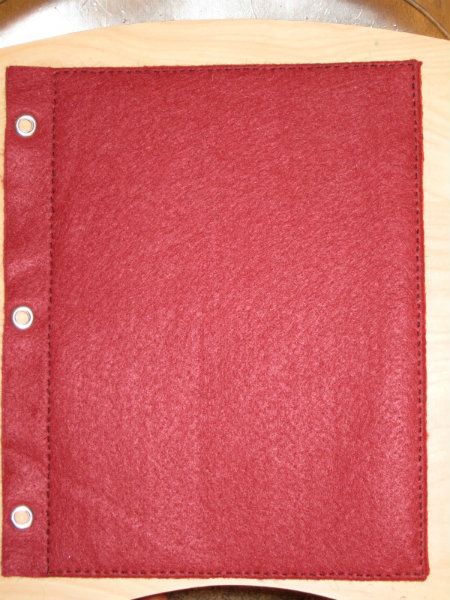
The New Sheets!

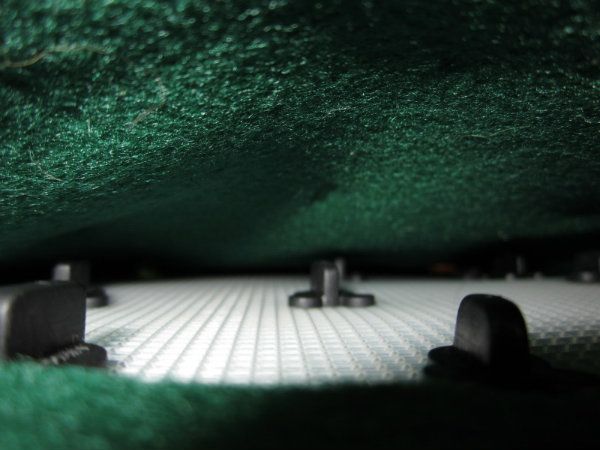
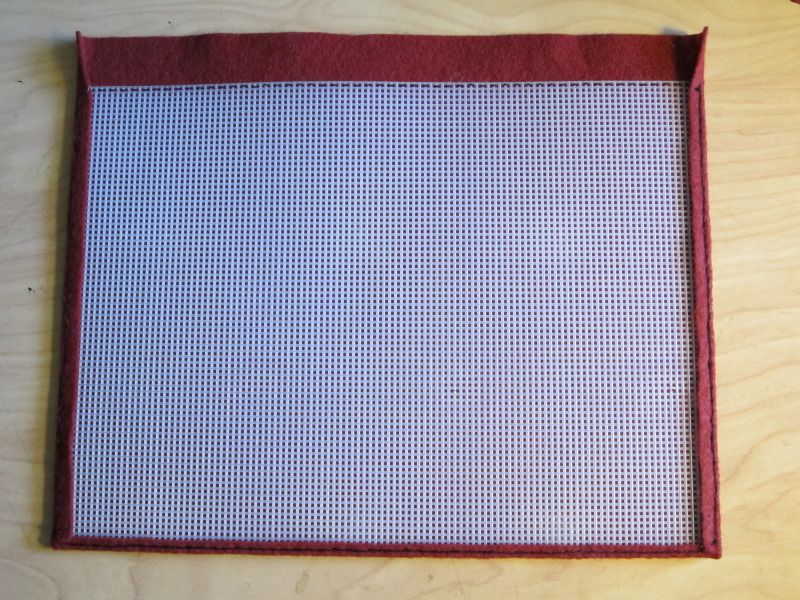
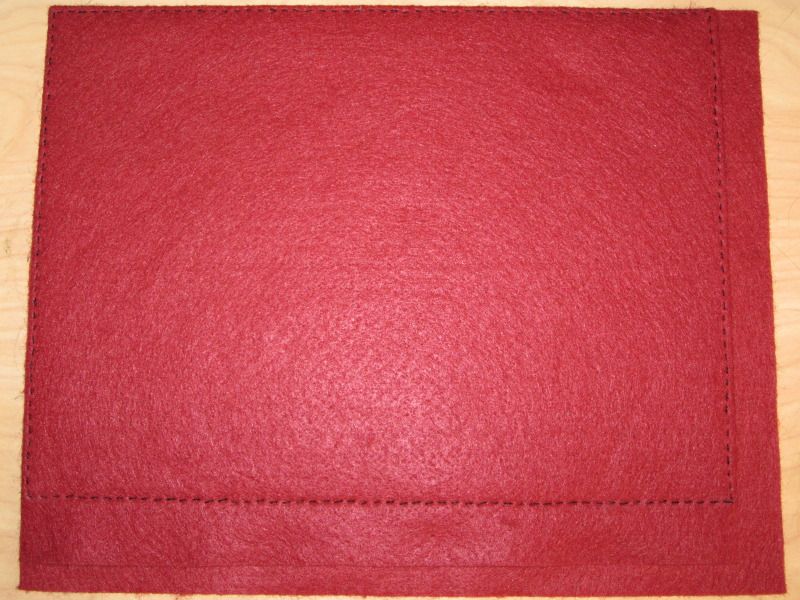
These sheets are quite sturdy. Plastic mesh with felt on both sides, and reinforced eyelets to go in a binder. The plastic mesh provides stiffness to combat the weight of the pins. The felt stretched across the front of the mesh provides an ideal background to display the pins. The felt on the back is only attached along the vertical sides, allowing for space to put the pin backs so that the don't damage the pins on the sheet behind them (especially important if any of your pins have metal backs). These should last a good long while!
The Materials!
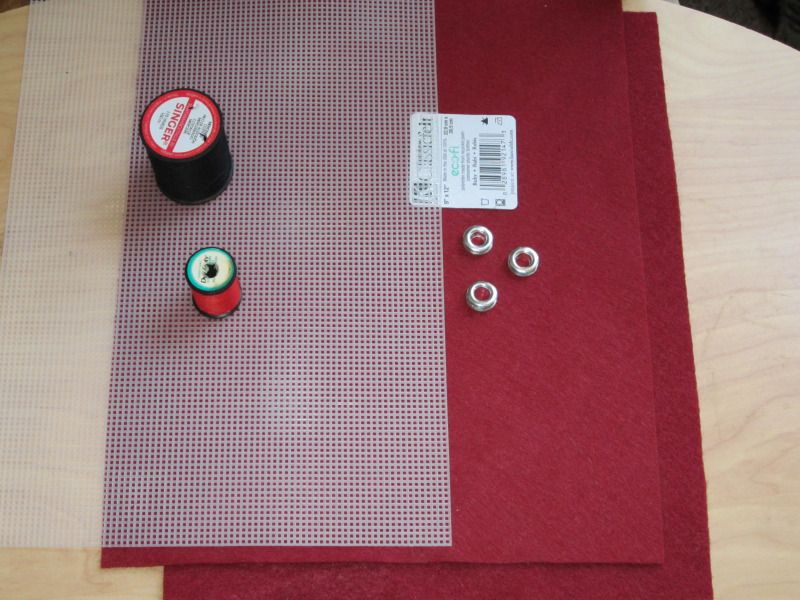
Now, the numbers on this list are per sheet! Multiply up by however many sheets you want. (I've made eight of these in a range of colors!)
-Two 9"x12 sheets of felt
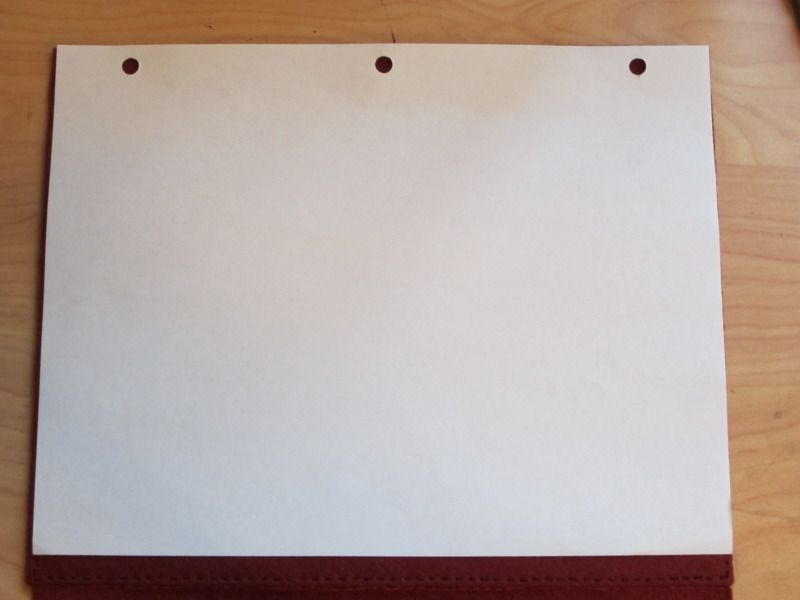
-One sheet of plastic mesh (found in the cross-stitch section), cut down to 8"x11". (I used 10-guage mesh.)
-3 sets of large eyelets (1/4", or 6mm)
-Thread in whatever color you want. It should be a touch darker than the felt if you want it to blend, or you can chose different colors to pop.
How to Make Them!
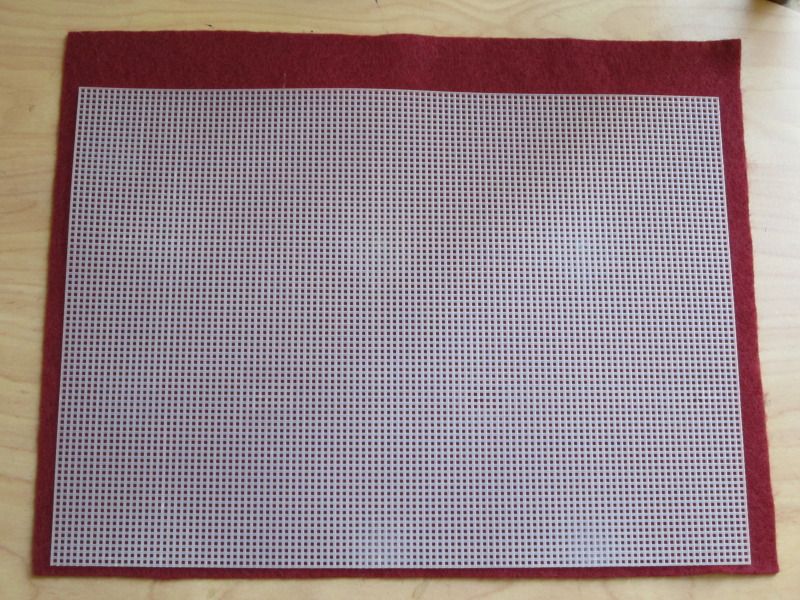
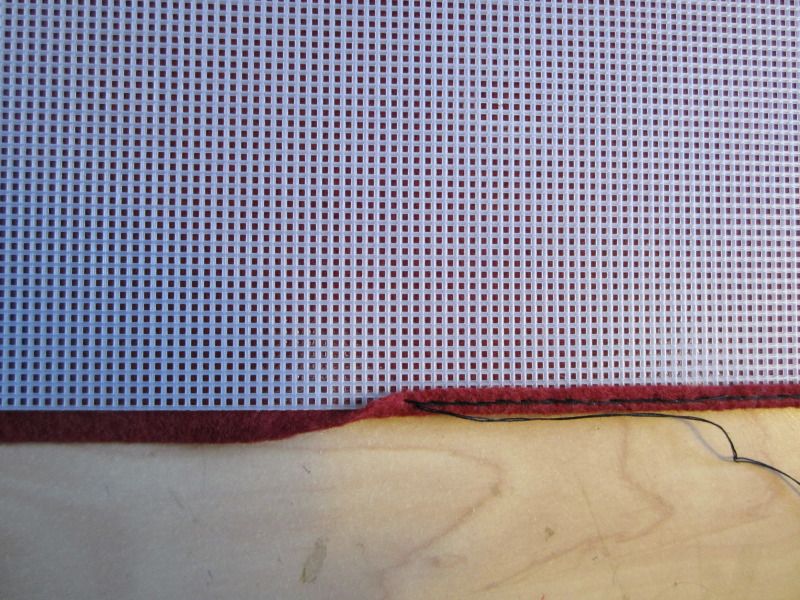
1. Put the plastic mesh on the top felt sheet and make a narrow hem along one side.
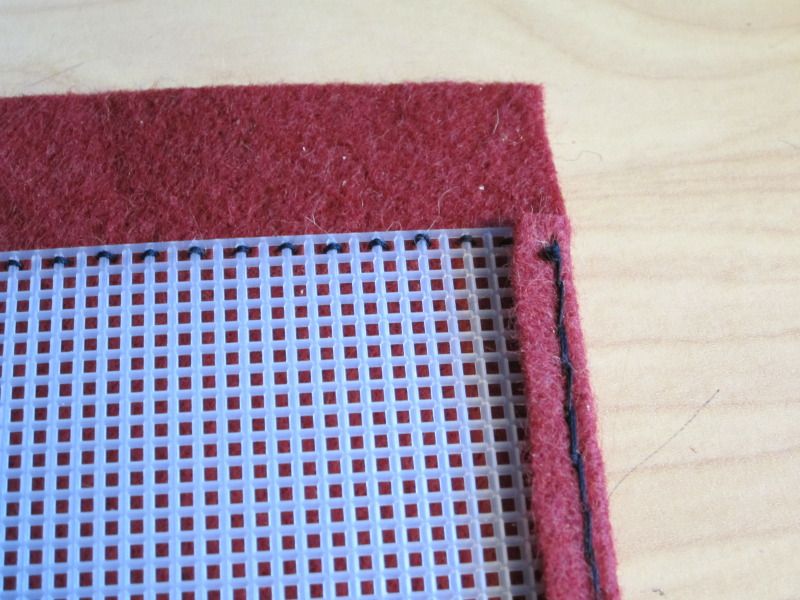
2. Secure down the other long edge.

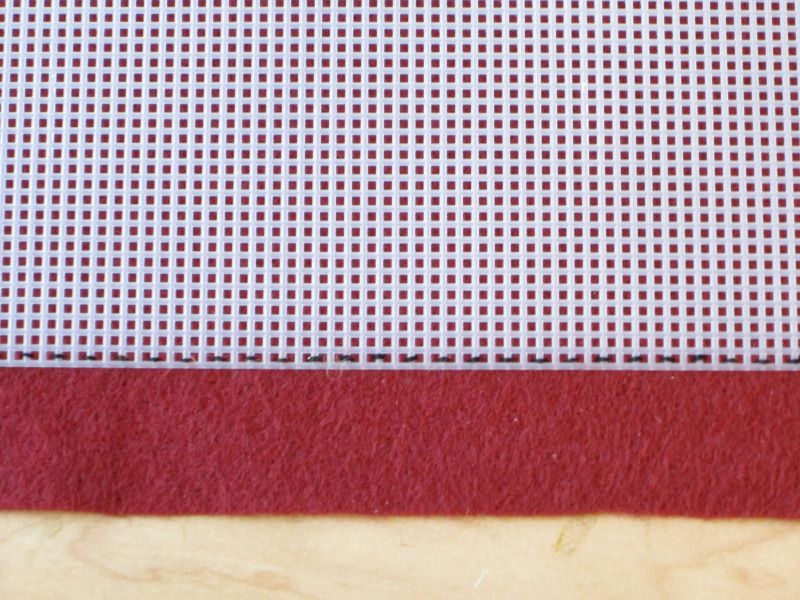
3. Sew down the top and bottom of the felt to the mesh.

4. Prepare and sew down the back sheet of felt.
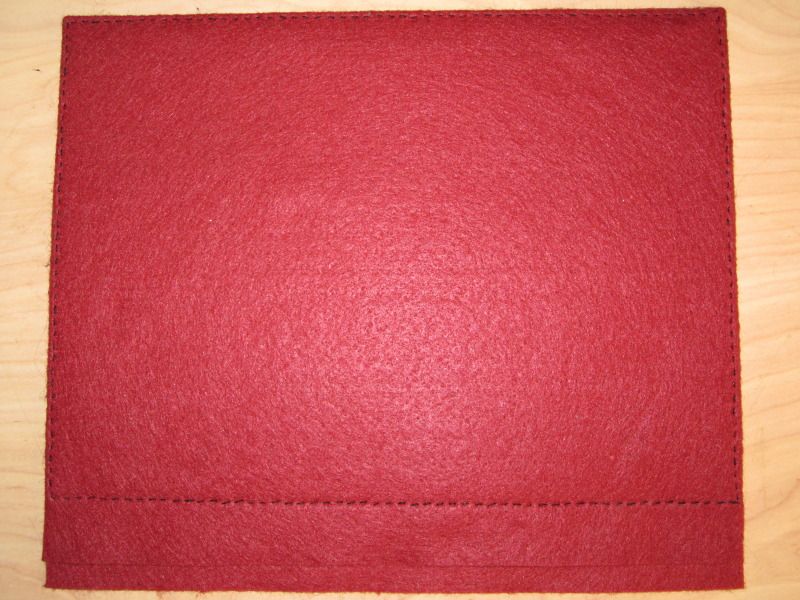
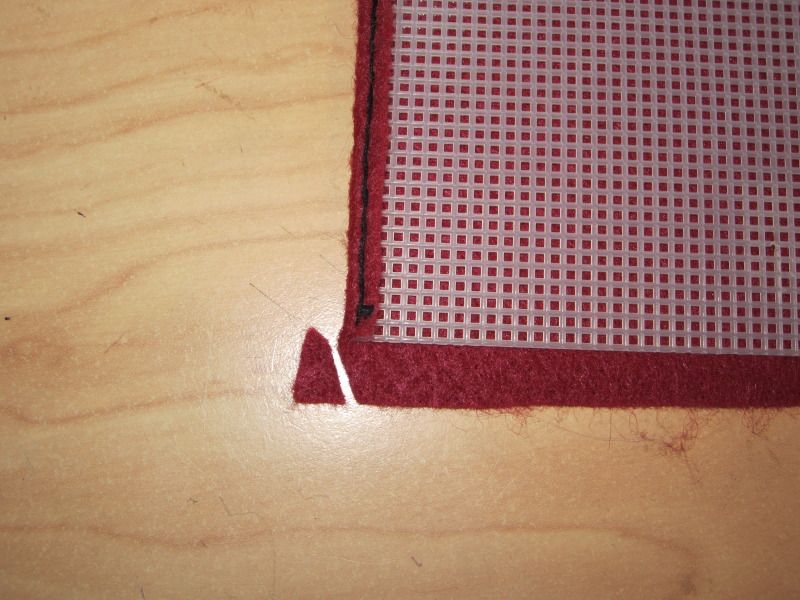
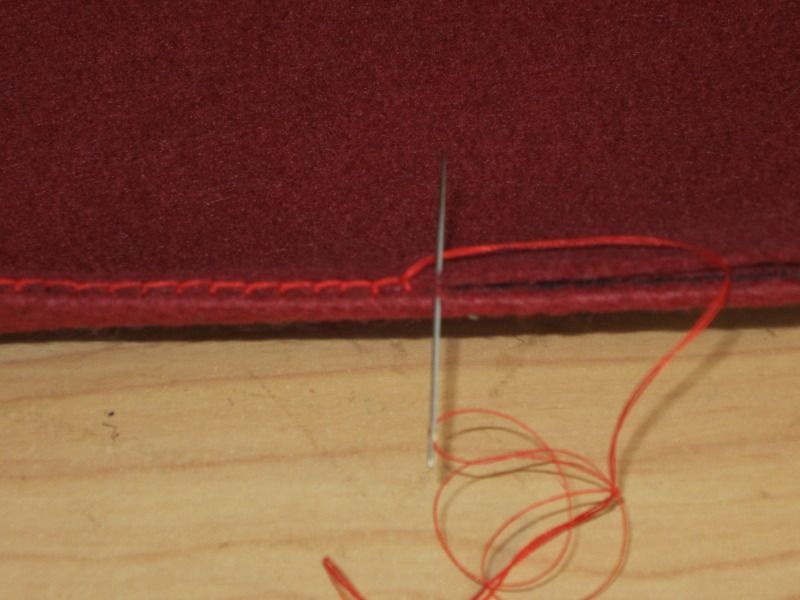
First, you'll want to place the second piece of felt under the prepared front, lining up the top and narrow hem edge with the felt. Then you'll cut along the bottom to match the lengths, though leave the other edge untouched! You want some extra width on the back, as that provides a pocket for the pin backs to go in. Then you'll sew the front and back pieces together along the narrow hem edge. I used a blanket stitch to do that. Only sew the one side, though!
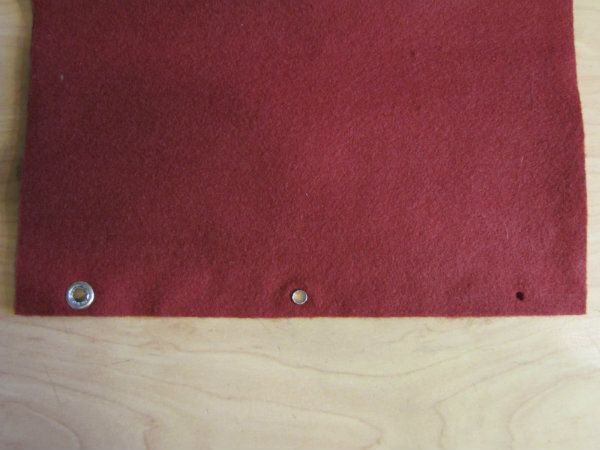
5. Finally, add the eyelets!
No comments:
Post a Comment